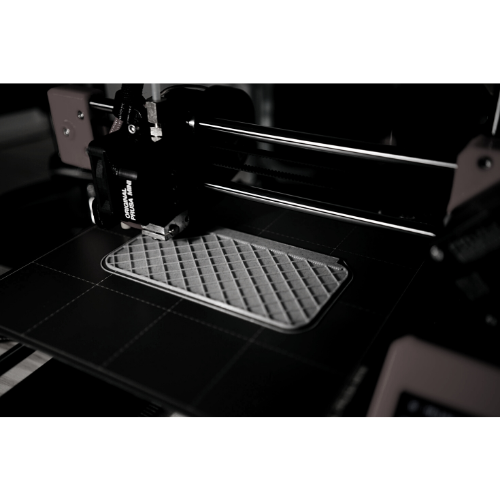
3D printing has revolutionized the manufacturing industry, allowing for the creation of complex and customized objects quickly and easily. However, the process doesn’t end with the completion of the print.
Post-processing is an essential step that can significantly improve the final product’s quality and functionality.
Can 3D printed objects be post-processed?
Post-processing is an essential step in 3D printing that involves any additional treatments or finishing touches applied to the printed object to improve its final quality and functionality.
Some common post-processing techniques for 3D printed objects include sanding, painting, chemical and vapor smoothing, and electroplating. Sanding can be used to smooth the surface of the object, while painting can add color and finish. Chemical and vapor smoothing can be used to dissolve and smooth the surface of the object, and electroplating can add strength and a metallic finish to the object.
The post-processing techniques used will depend on the specific properties of the object, the intended use of the object, and the desired final outcome. Additionally, the materials used in the 3D printing process can affect the post-processing techniques that are suitable. It’s important to consider post-processing techniques during the design stage to ensure that the object is suitable for post-processing and to achieve the desired final outcome.
Here are a few examples:
– Sanding and smoothing: many 3D printed objects have a rough or uneven surface finish due to the layering process used in 3D printing. Sanding and smoothing the surface of the object can help improve the appearance and smooth out any roughness or imperfections. This can be done using sandpaper or other abrasive materials, or using specialized tools such as rotary tools or sanding blocks.
– Painting and coating: 3D printed objects can be painted or coated using a variety of different methods and materials. This can help improve the appearance of the object, add a protective layer, or change the color or texture of the surface. Common methods of painting and coating 3D printed objects include spraying, dipping, and brush application.
– Heat treatment: Some 3D printed objects can be improved through heat treatment, which involves heating the object to a high temperature and then allowing it to cool slowly. Heat treatment can help improve the strength, toughness, and other properties of the object, depending on the specific material and process used.
– Assembling and fastening: many 3D printed objects are made up of multiple parts that need to be assembled or fastened together. This can be done using a variety of different methods, including glue, screws, and other fasteners.
Overall, there are a variety of ways to post-process or finish 3D printed objects, including sanding and smoothing, painting and coating, heat treatment, and assembling and fastening. By choosing the appropriate method and materials, it is possible to improve the appearance, strength, and other properties of your 3D printed object.
Examples of post-processed products
Here are some examples of products that can be post-processed or finished in the ways described before:
1. Sanding and smoothing:
3D printed figurines: Sanding and smoothing the surface of a 3D printed figurine can help improve the appearance and smooth out any roughness or imperfections.
3D printed jewelry: Sanding and smoothing the surface of a 3D printed piece of jewelry can help improve the appearance and create a more polished finish.
2. Painting and coating:
3D printed figurines: Painting or coating a 3D printed figurine can help improve the appearance, add a protective layer, or change the color of the object.
3D printed automotive parts: Coating a 3D printed automotive part with a protective layer can help improve the durability and performance of the part.
3. Heat treatment:
3D printed tools: Heat treatment can help improve the strength and toughness of a 3D printed tool, making it more suitable for heavy use.
3D printed medical implants: Heat treatment can help improve the strength and biocompatibility of a 3D printed medical implant, making it more suitable for use in the human body.
4. Assembling and fastening:
3D printed furniture: Many 3D printed furniture pieces are made up of multiple parts that need to be assembled or fastened together. This can be done using glue, screws, or other fasteners.
3D printed toys: 3D printed toys may be made up of multiple parts that need to be assembled or fastened together in order to create the final product.
Overall, there are many different ways to post-process or finish 3D printed objects, and the specific method and materials used will depend on the specific product and the desired properties or appearance.
Post-processing techniques cost
Here is a sample table outlining the technical aspects related to post-finishing of a 3D printed object, including approximate costs:
| Technique | Description | Tools/Equipment Needed | Cost (EUR) |
|---|---|---|---|
| Sanding | Smoothing the surface of the object | Sandpaper, sanding block, file | 5-20 |
| Priming | Applying a base coat to prepare for painting | Spray primer, brush, paint thinner | 5-20 |
| Painting | Adding color and finish to the object | Spray paint, brush, airbrush, paint thinner | 5-50+ |
| Chemical smoothing | Using chemicals to dissolve the surface of the object | Chemicals (e.g., acetone, MEK), container | 10-20 |
| Vapor smoothing | Using vaporized chemicals to dissolve and smooth the surface of the object | Vapor smoothing chamber, chemicals (e.g., acetone, MEK) | 50-500+ |
| Electroplating | Coating the object in a thin layer of metal for added strength and finish | Electroplating kit, power source | 100-500+ |
Note: the costs are approximate and can vary widely depending on factors such as the size and complexity of the object, the specific materials and tools used, and the quality of the final finish desired. Additionally, some post-finishing techniques may require specialized equipment or settings in order to be effective, which can affect the overall cost of the finishing process.